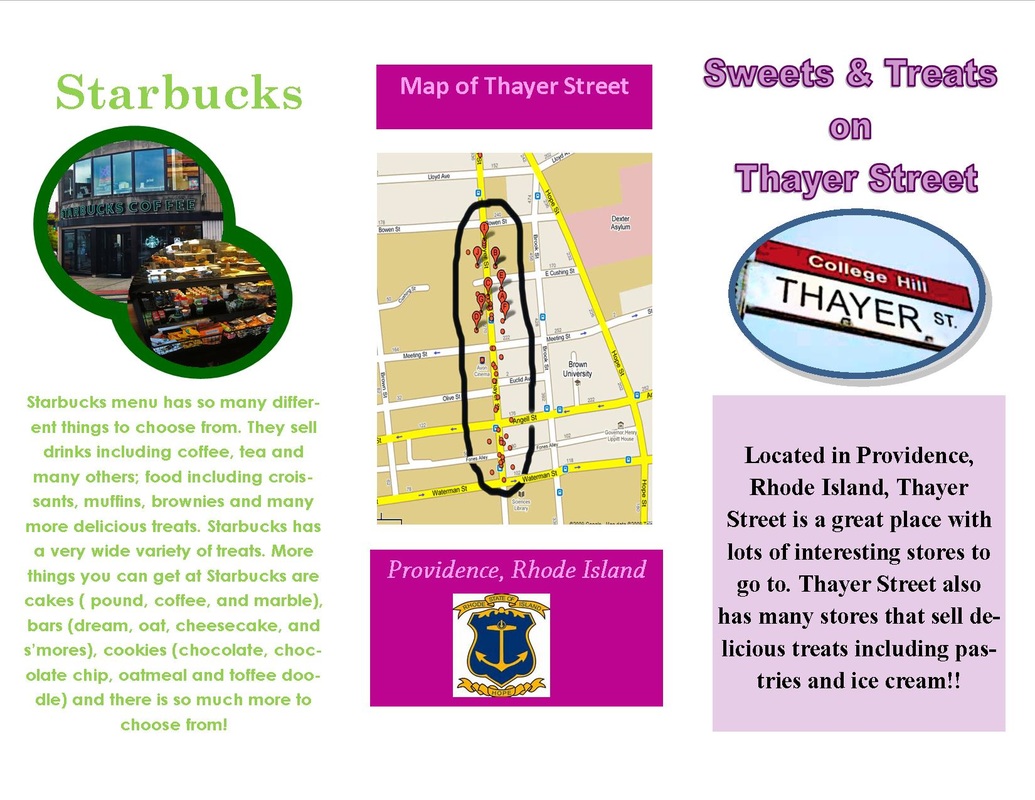
Thayer Street Brochure
|
|
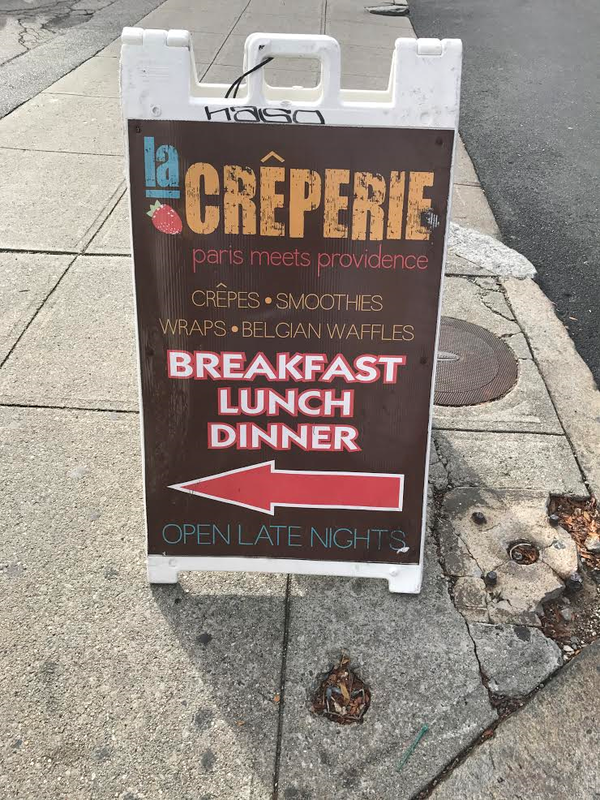
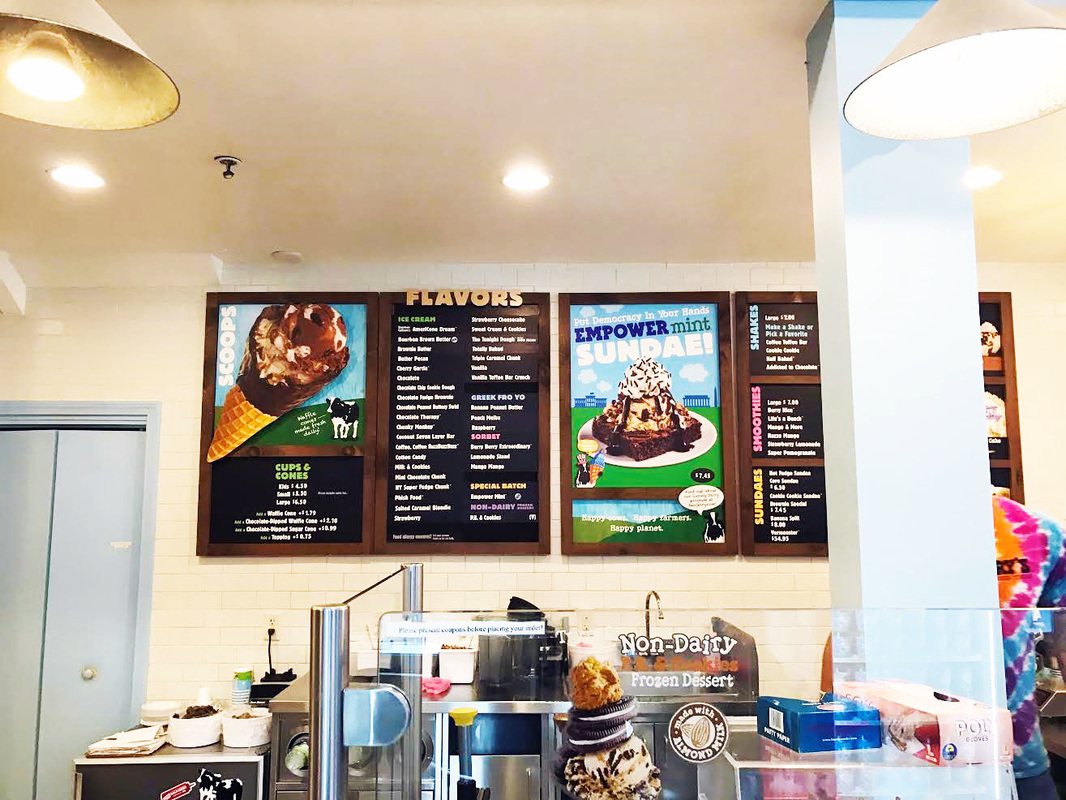
For this image I tried to make it look of better quality by increasing the brightness, contrast, and vibrancy.
|
|
|
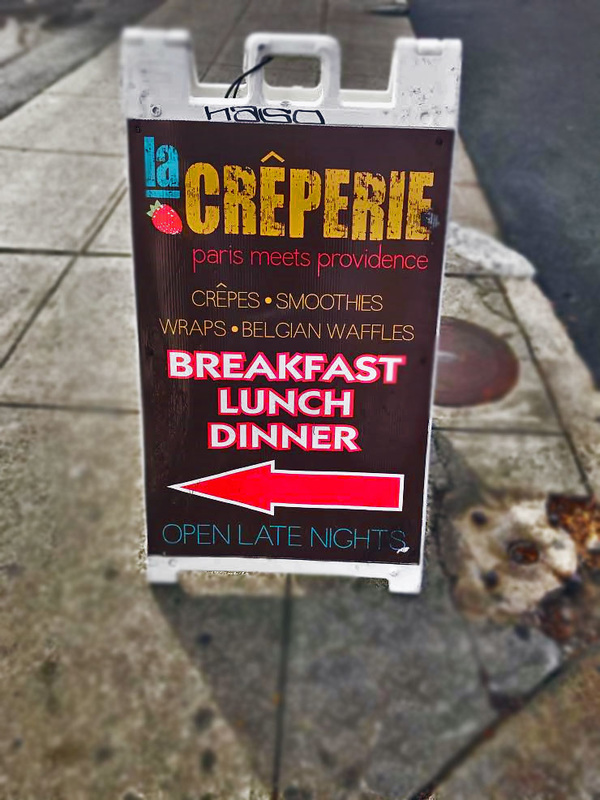
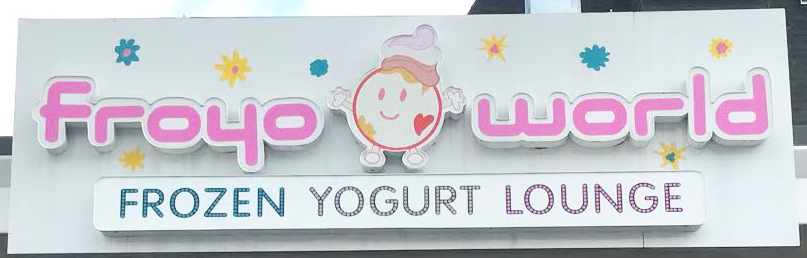
For this image I raised the contrast and the brightness.
|
|
|
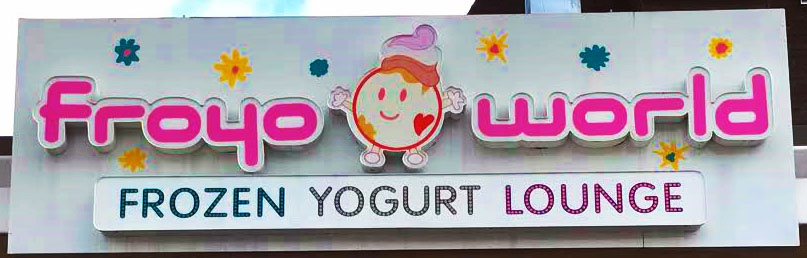
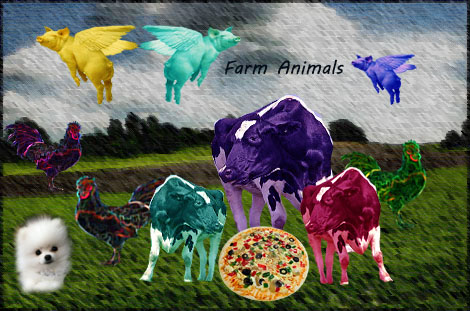
For this image I raised the saturation, lowered the brightness and raised the vibrancy.
|
|
|
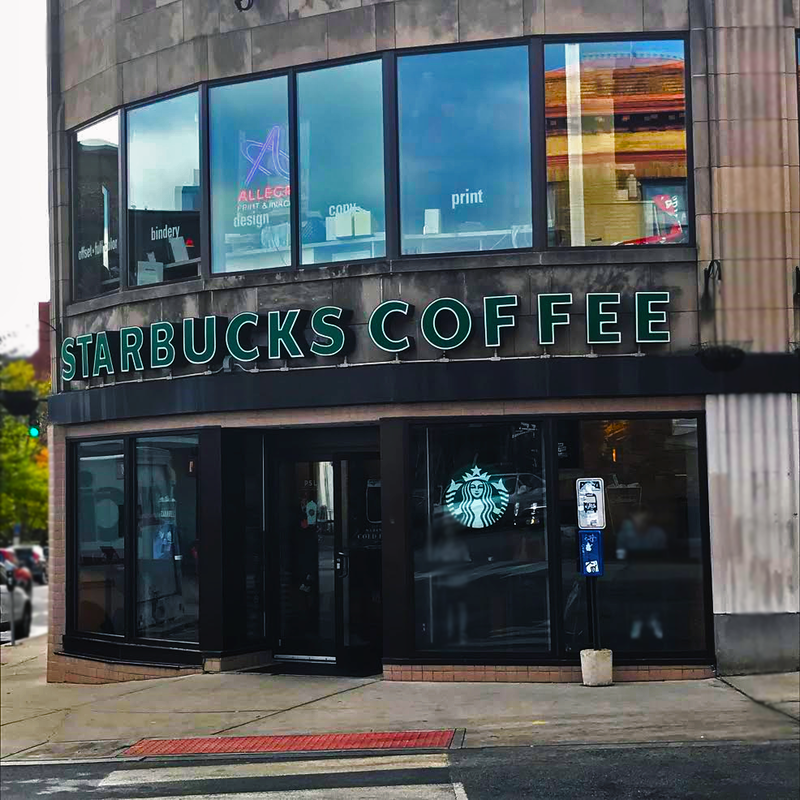
For this image I blurred the left side where you can see the street and also on the side of the building to focus the attention on Starbucks itself.
|

Photoshop Lessons
Pretend you were there
|
|
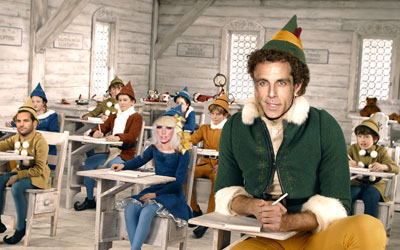
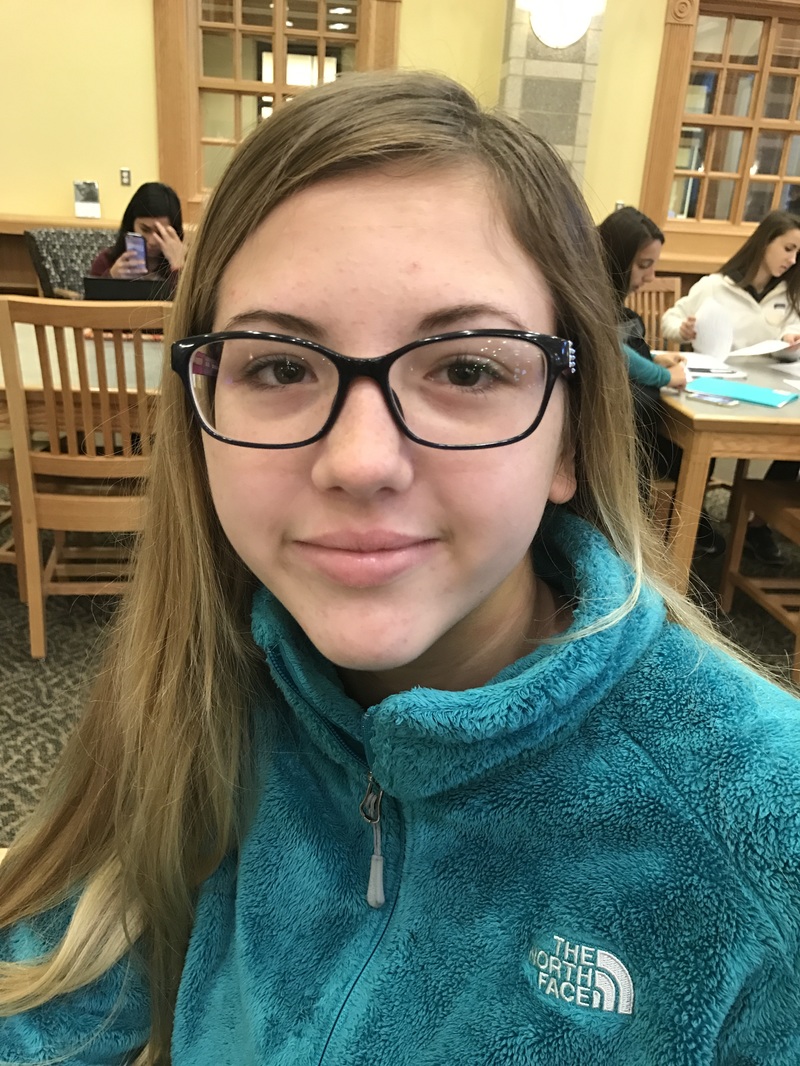
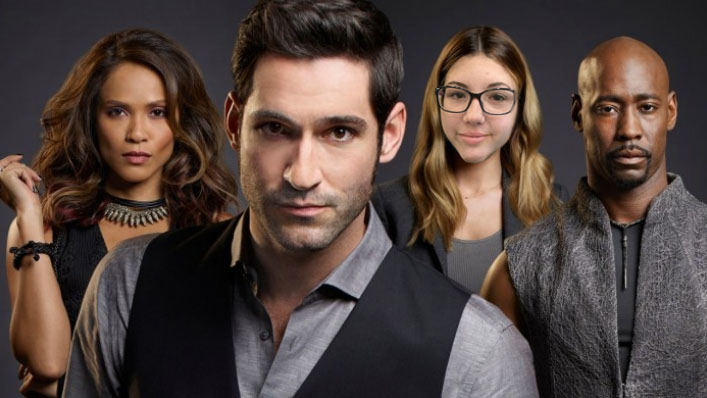
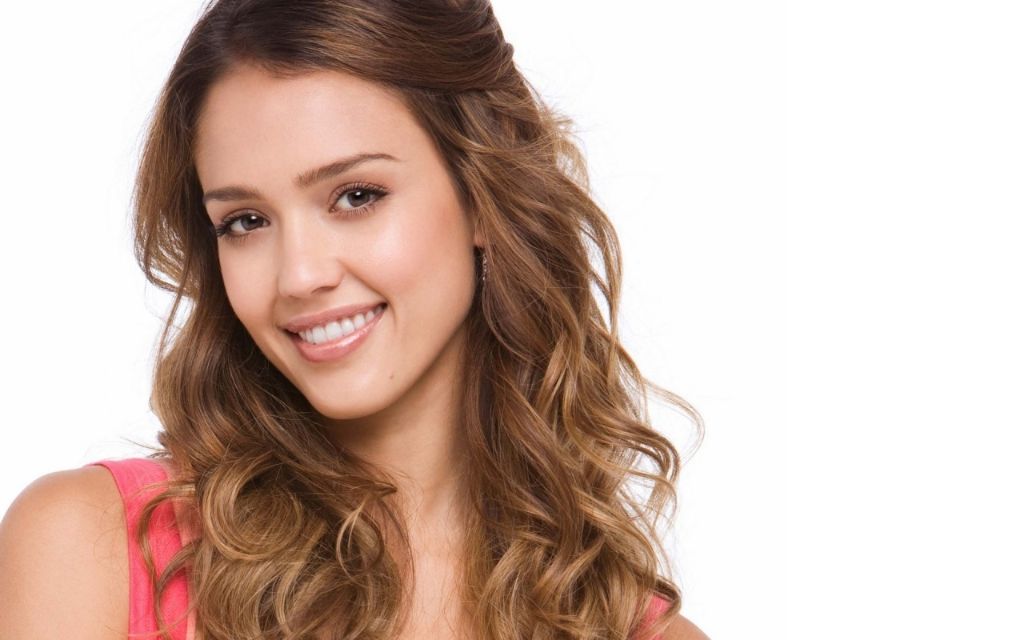
The first photo is the photo I chose to put my face in and the second photo is the photo of myself that i chose to use. To the right is the final product. In order to put my face on the women to rights' face I use the polygonal lasso tool to cut out my face then I copied and pasted my image onto the photo. Then I made my face image smaller becasue it was way to big. I aligned my face up with the womens and sligtly tilted my head to the right becasue the women has a slight tilt in her face. I then used the eraser tool to erase some of the edges of my face to show her hair which made it look more realistic.
|
|
|
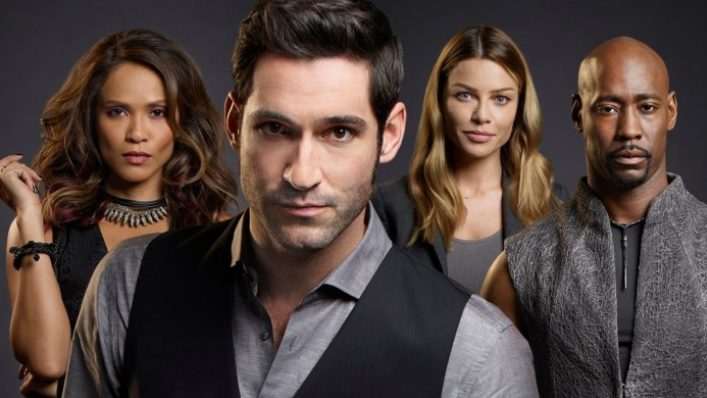
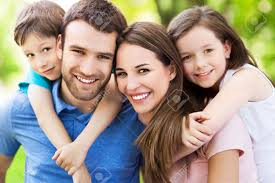
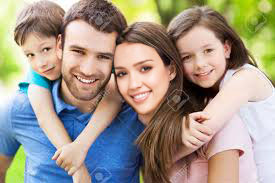
In order to put Jessica Alba's face in this family photo I used the polygonal lasso tool to cut out her face then I copied and pasted the image into the family photo. This image was also big so I made it smaller. I lined up her face with the women in the photos face. I used the eraser tool to go around the edges and also to erase some of Jessica's left cheek becuse the women in the photo has a sharper jaw line. I then went to brightness and contrast and raised the brightness because Jessica's face is a little darker then the womens.
|
Starbucks Cup
My Coffee Cup
|
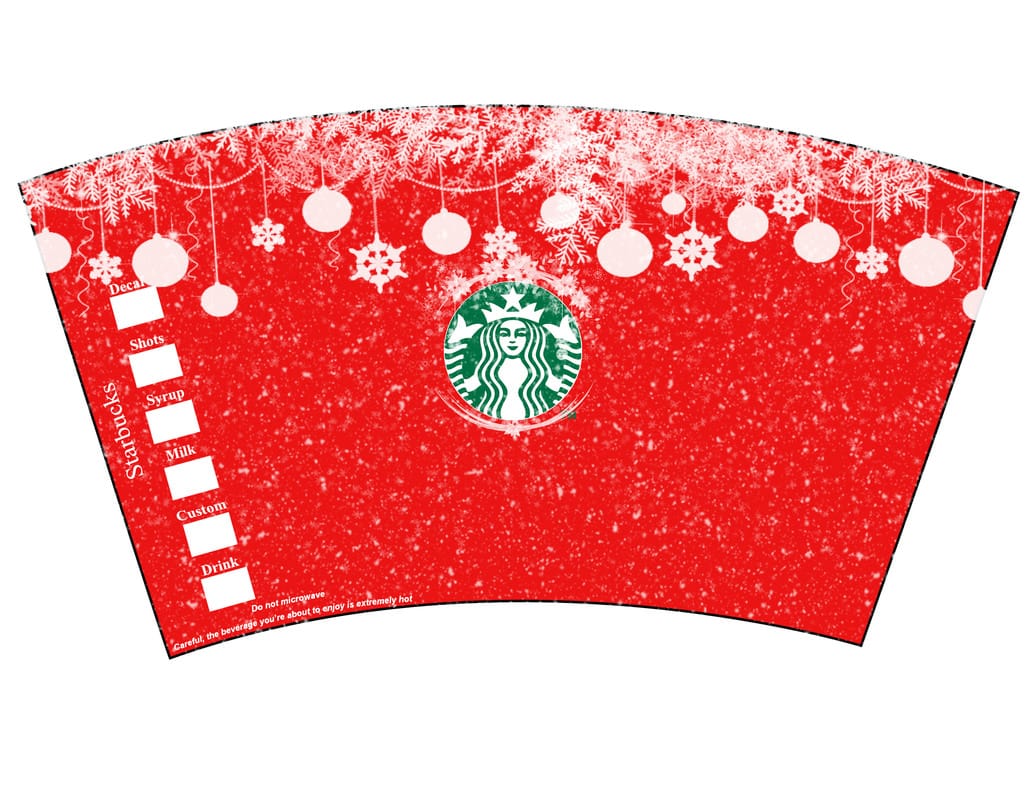
For my Starbucks cup I did a red background and added snow to it. Then I used a brush that had snowy branches and hanging ornaments. I also put a wreathe around the Starbucks logo to make it look more appealing
|
Album 1
|
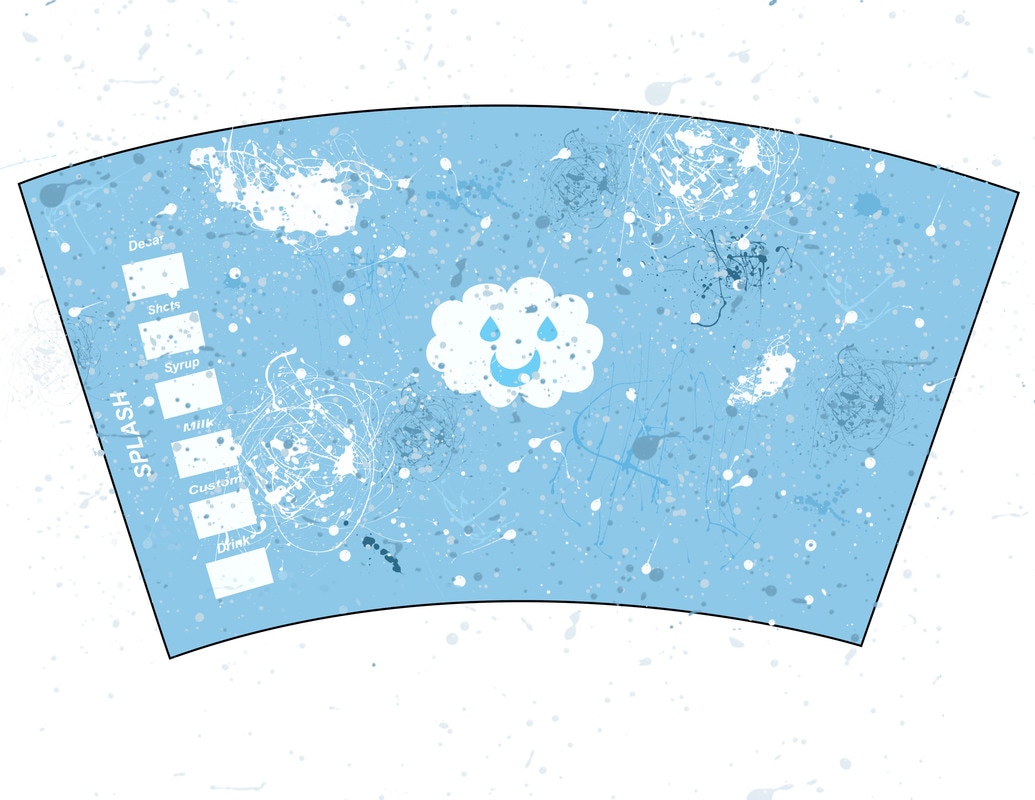
For my own cup I used brushes that were paint splatters and put them all over my cup, I used these because they looked cool. I make the background color blue and made the paint splatters white and different shades of blue. For my logo I used the cloud shape tool and used raindrops and a semicircle to create a face on the cloud.
|
|
|
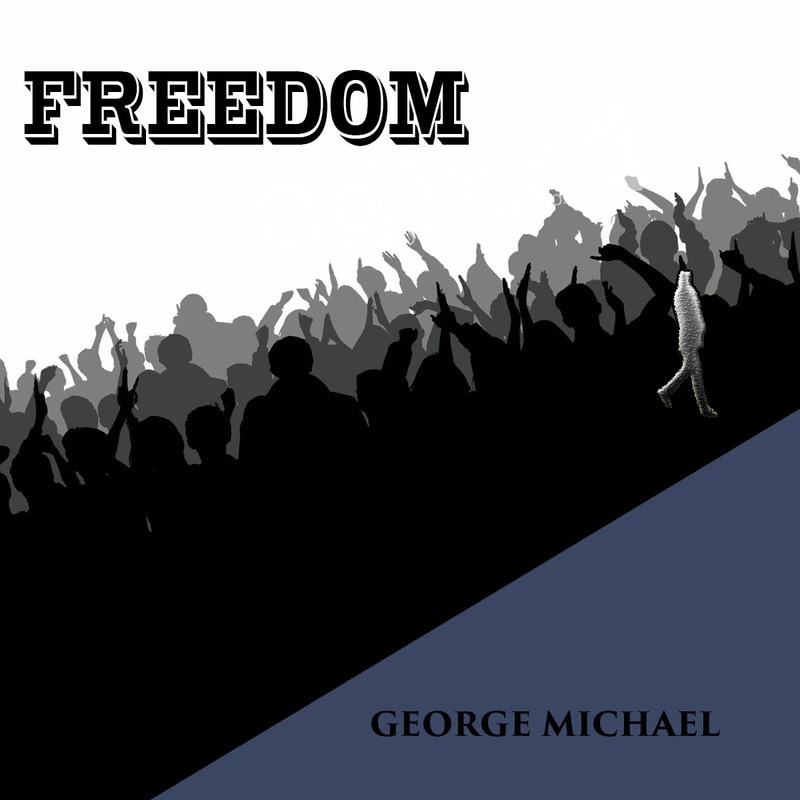
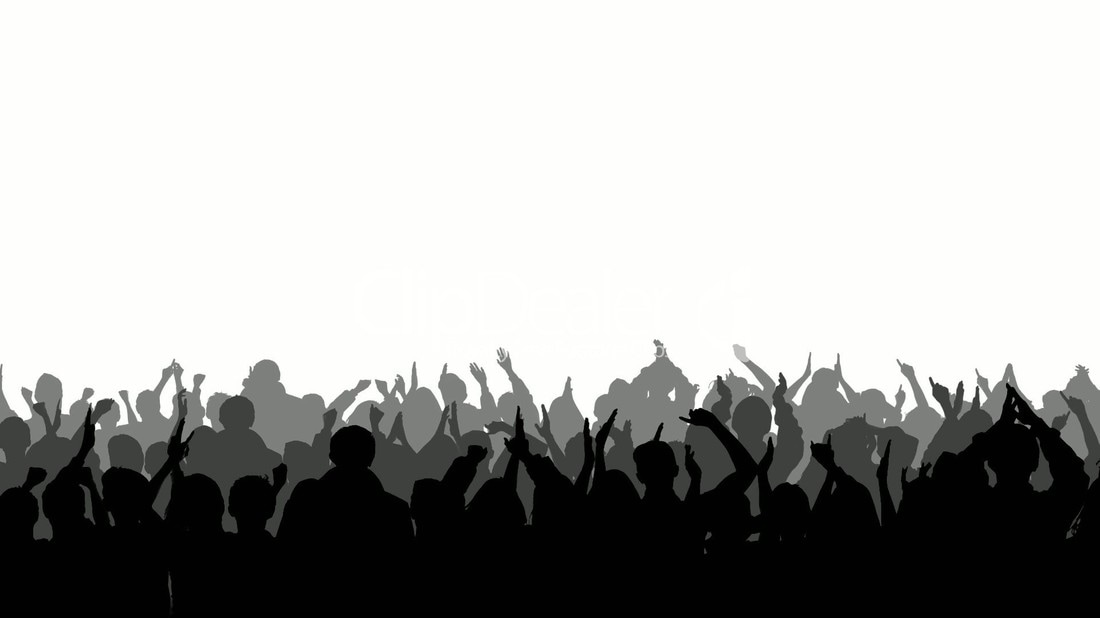
For my album cover I chose George Michael's Freedom. I cropped a photo of him and used blending options to make it look cooler, I put it on a path as if he were walking away because the song is about wanting to leave his music producers. Then I put a crowd in the background to make it look like he was walking towards them.
|
|
|
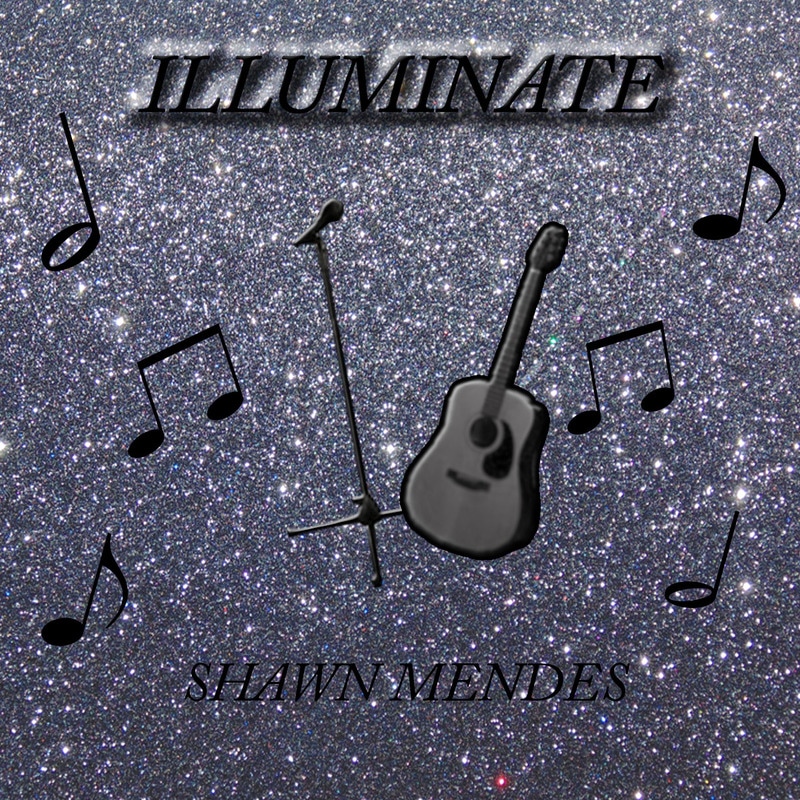
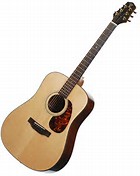
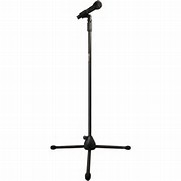
For my second album cover I chose Shawn Mendes' album Illuminate. I made the background sparkly and glittery because the album is called illuminate. I added a guitar and microphone because for Shawn's songs he plays the guitar and sings them. I also added music notes just to add a little more to the album and also because Shawn Mendes is very musically talented.
|